Broken Pernambuco Cello Bow Restoration
Every bow has its own character, balance, and history — and for a musician, a favorite bow is often irreplaceable. This pernambuco cello bow, stamped P. Hoyer, was brought to our workshop with a serious structural break in the stick. Despite the damage, the owner hoped to restore the bow rather than replace it, preserving its familiar feel and playing response.
Our task was to structurally reconnect and reinforce the broken stick while maintaining the bow’s original alignment, strength, and balance — a highly delicate and technically demanding restoration.
How We Restored a Broken Pernambuco Cello Bow
Initial condition
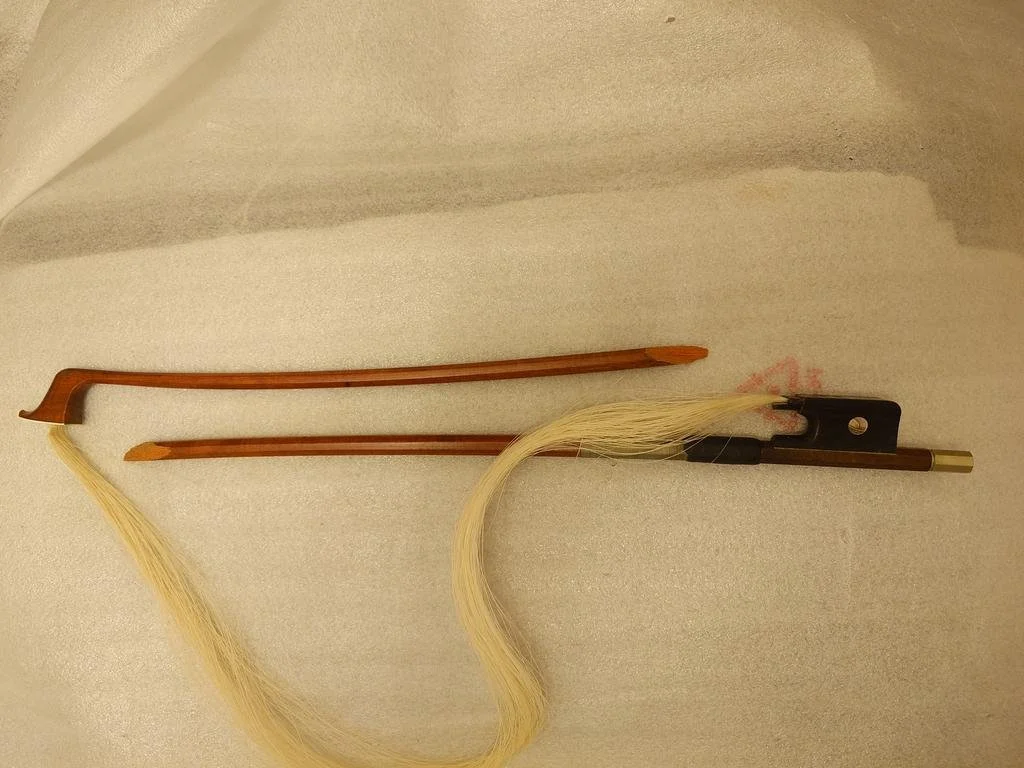
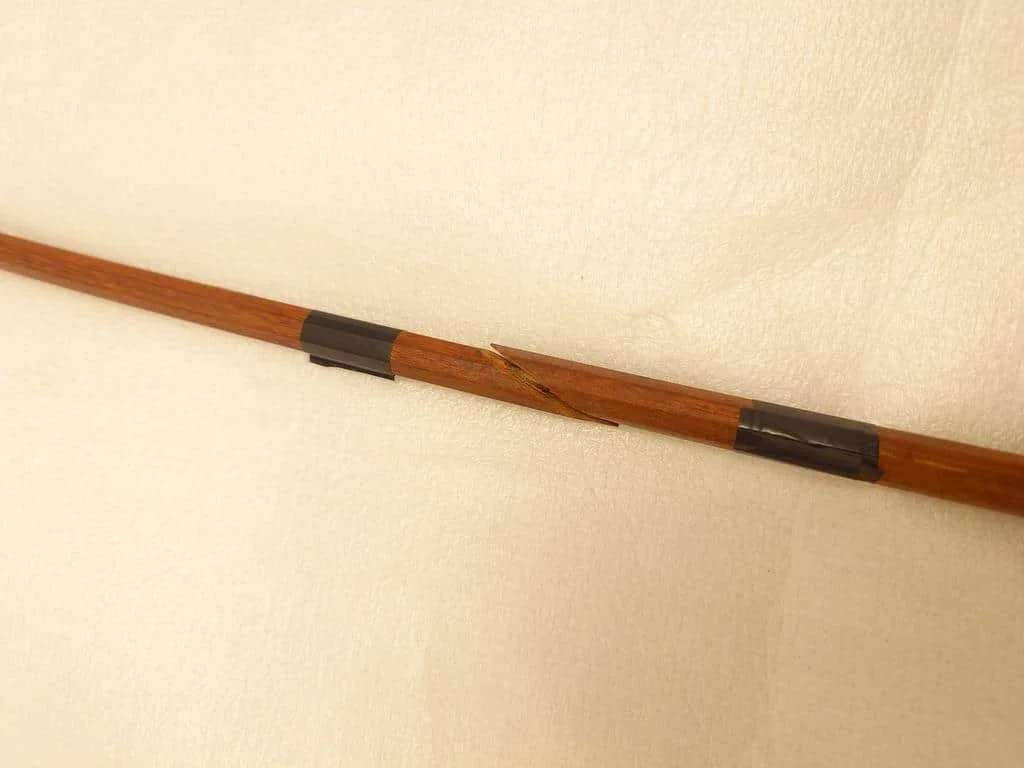
The bow arrived with a complete fracture in the stick.
The break made the bow unsafe and impossible to use for playing. Given the properties of pernambuco wood and the importance of correct geometry, this type of repair requires extremely high precision. Any misalignment could permanently affect the bow’s straightness and playing characteristics.
Restoration Process
1. Removing the old horse hair
The first step was removing the old horse hair.
This allowed full access to the stick and ensured safe handling of the bow during the structural repair stages.
2. Preparing for internal reinforcement
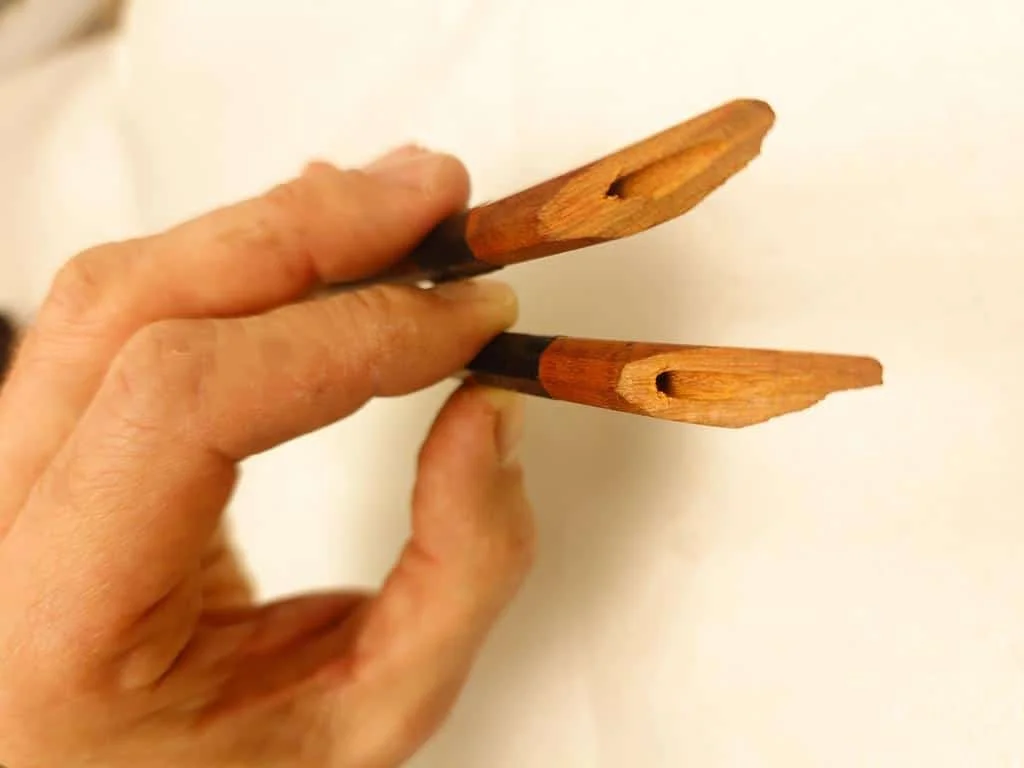
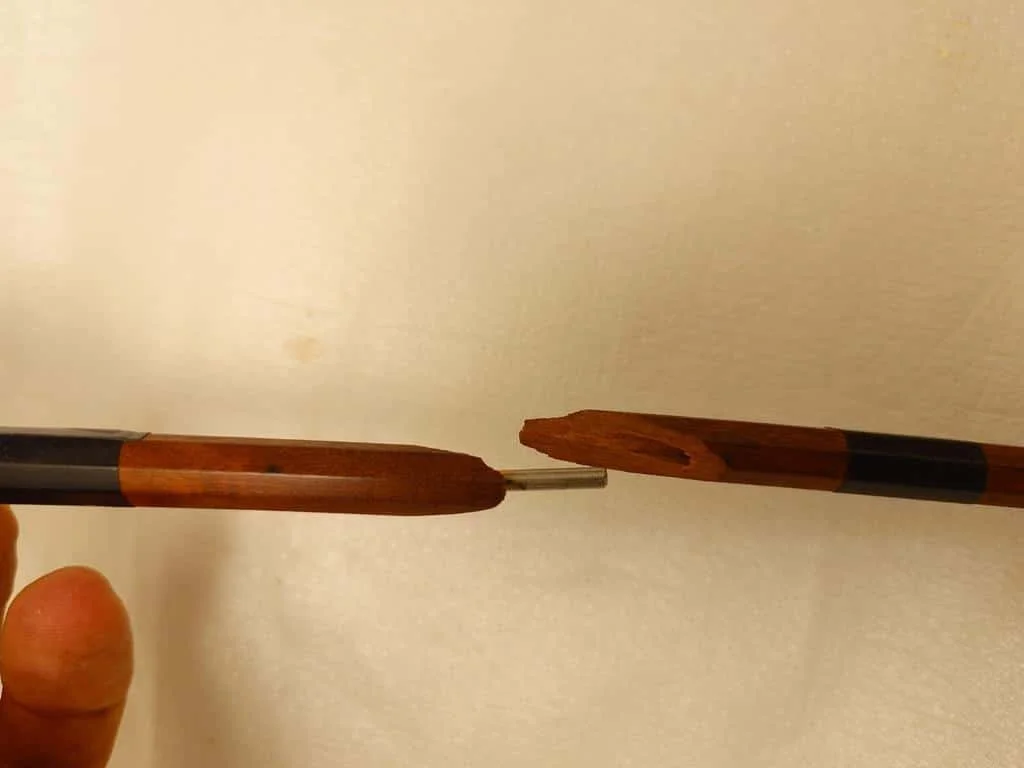
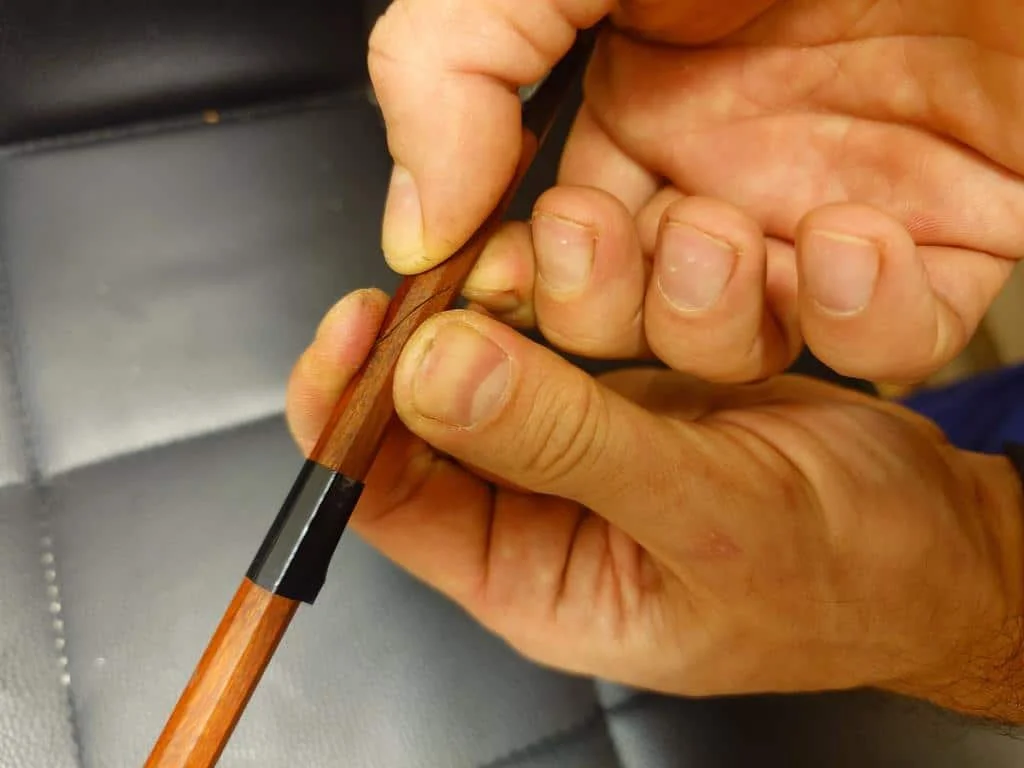
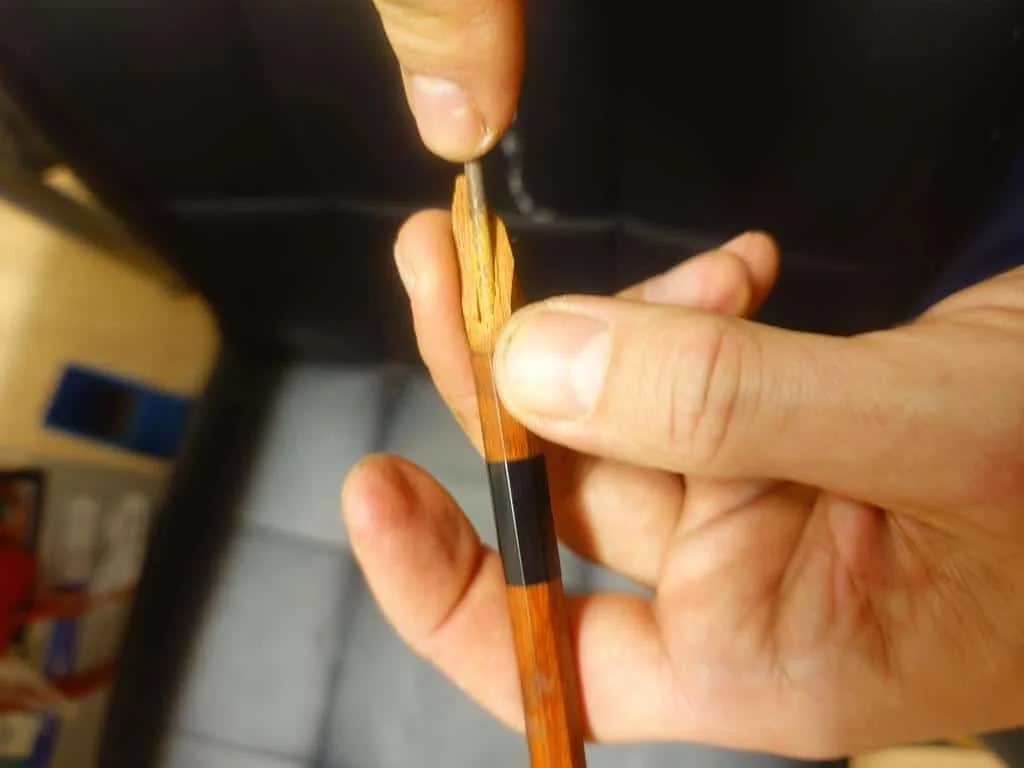
To securely reconnect and reinforce the broken stick, we decided to install a strong metal pin inside the bow stick.
This internal reinforcement ensures long-term structural stability once the two broken halves are glued together.
3. Precision drilling along the bow’s axis
Holes were drilled into both broken halves of the stick:
Precisely along the central axis of the bow
30 mm deep on each side
Diameter matched exactly to the metal pin
This is one of the most delicate and risky stages of bow restoration. Even the slightest deviation from the axis can cause the bow to warp and permanently lose its correct playing geometry.
4. Micro-roughening the metal pin
For a perfect bond, the metal pin must fit tightly inside the bow stick without any free space.
To improve adhesion, micro-roughening was applied to the surface of the pin, increasing grip between the metal and the pernambuco wood.
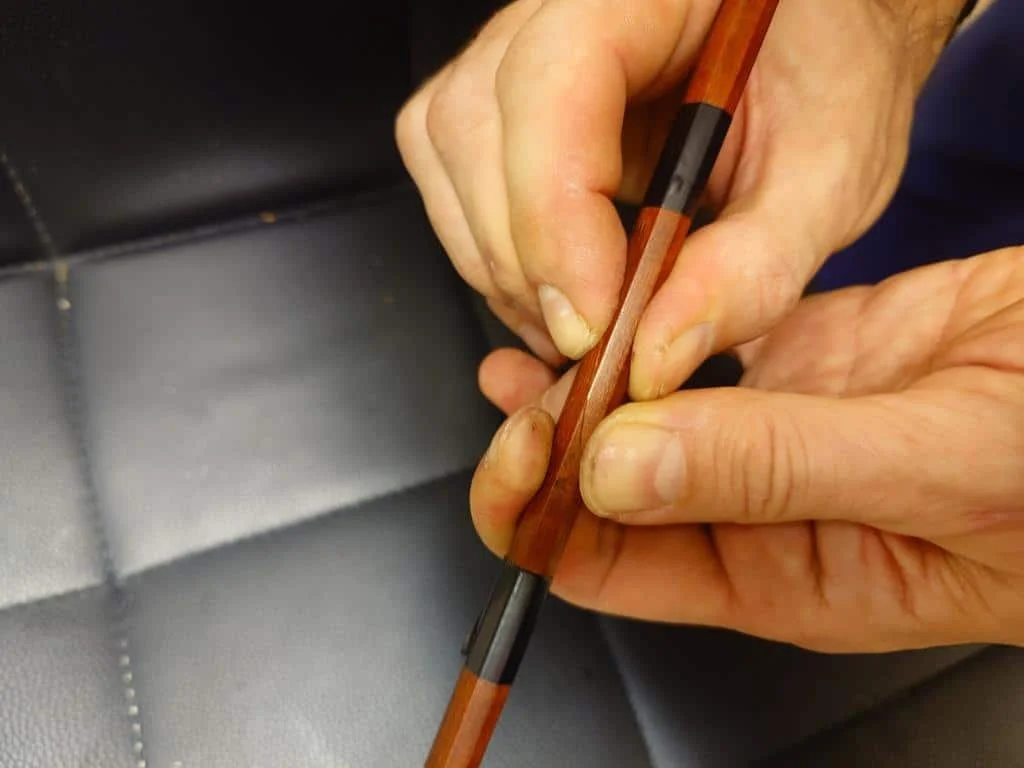
5. Gluing the broken stick halves
After final alignment and test fitting, the two broken halves of the stick were carefully glued together using the internal metal pin.
This step requires absolute precision to preserve the bow’s straightness and balance.
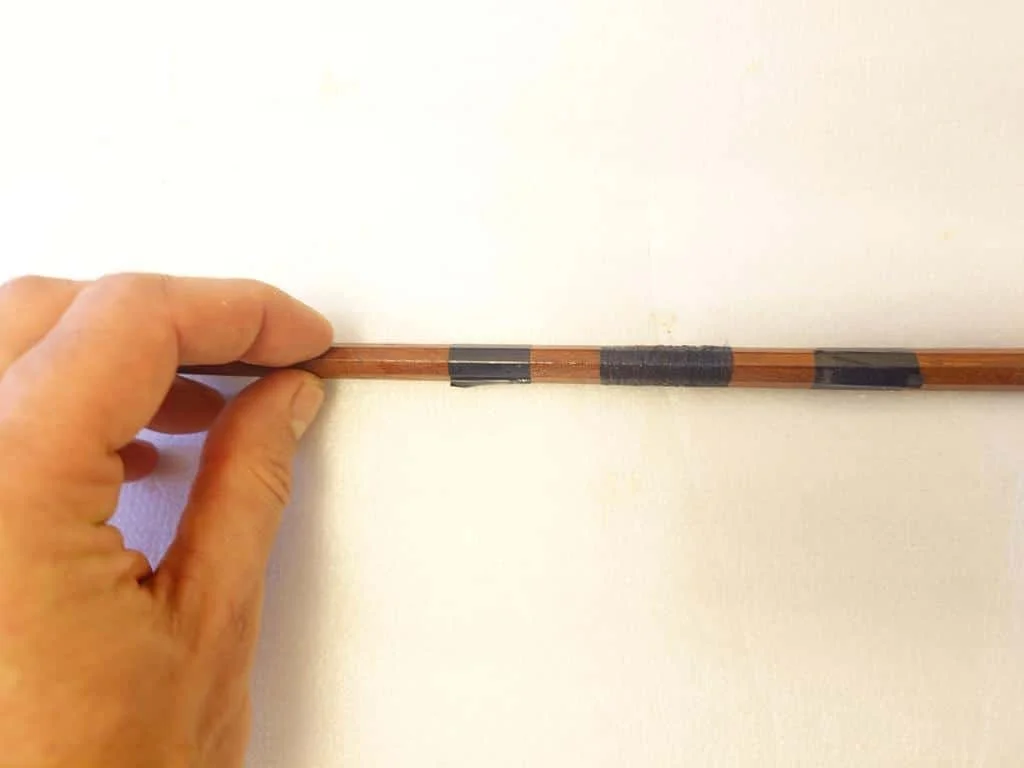
6. Securing the joint with thread wrapping
To ensure uniform pressure from all sides while the glue cured, the repaired area was tightly wrapped with thread.
This technique stabilises the joint and prevents micro-movements at the fracture point.
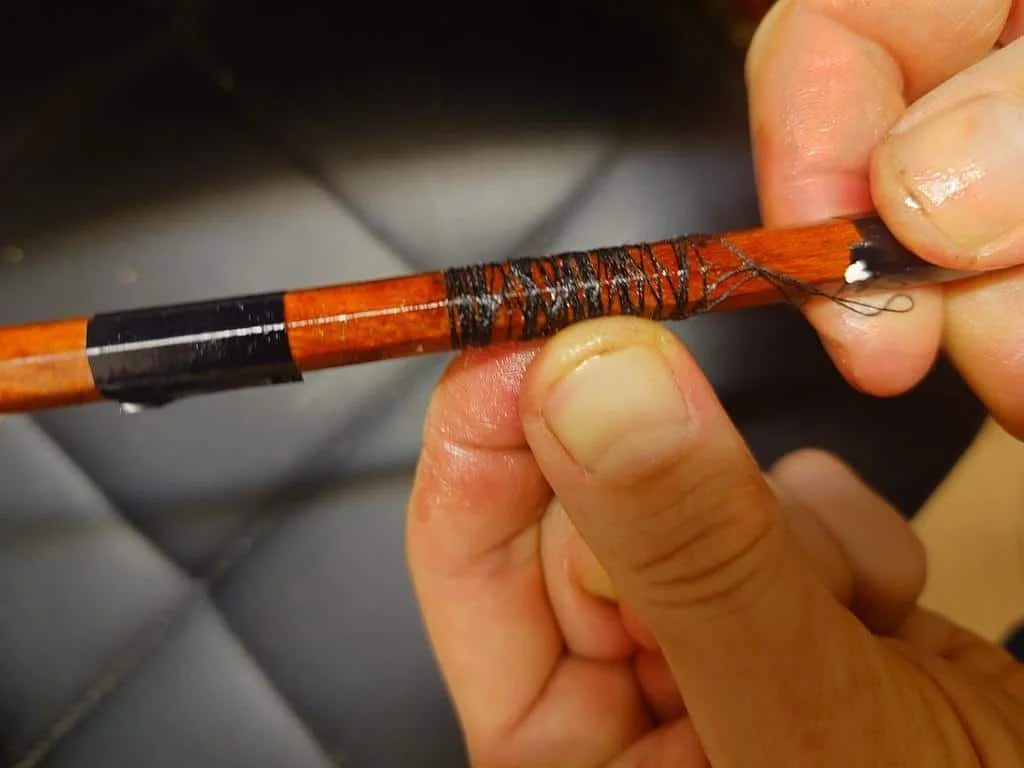
7. Removing the thread
Once the glue had fully cured, the thread wrapping was carefully removed.
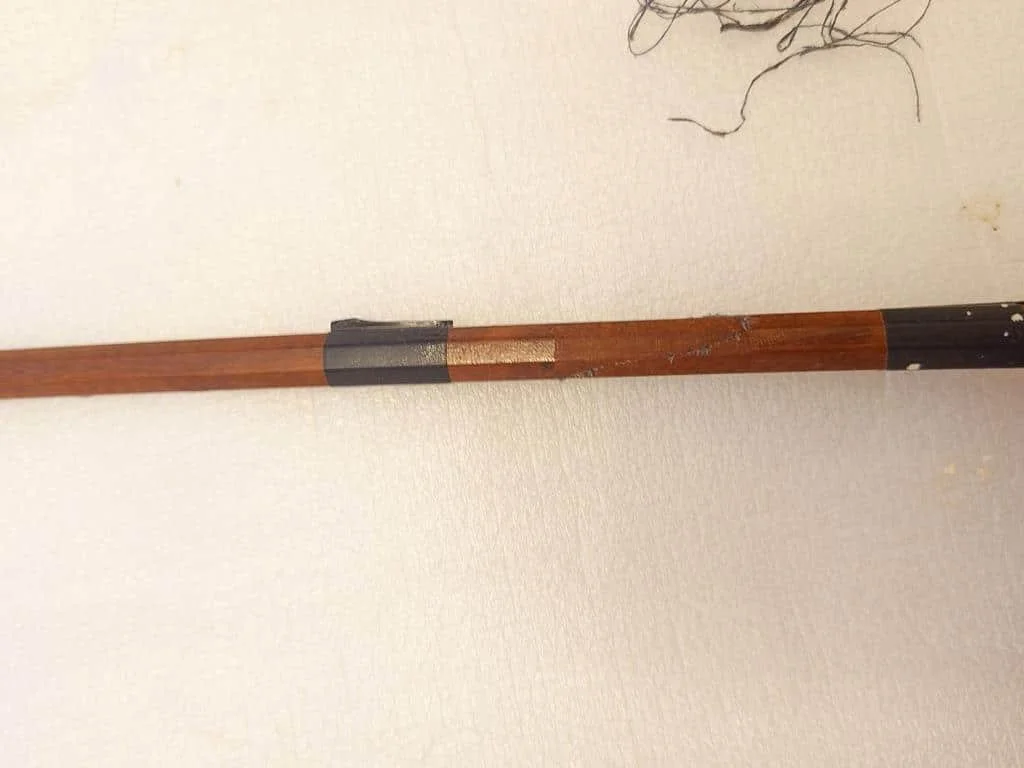
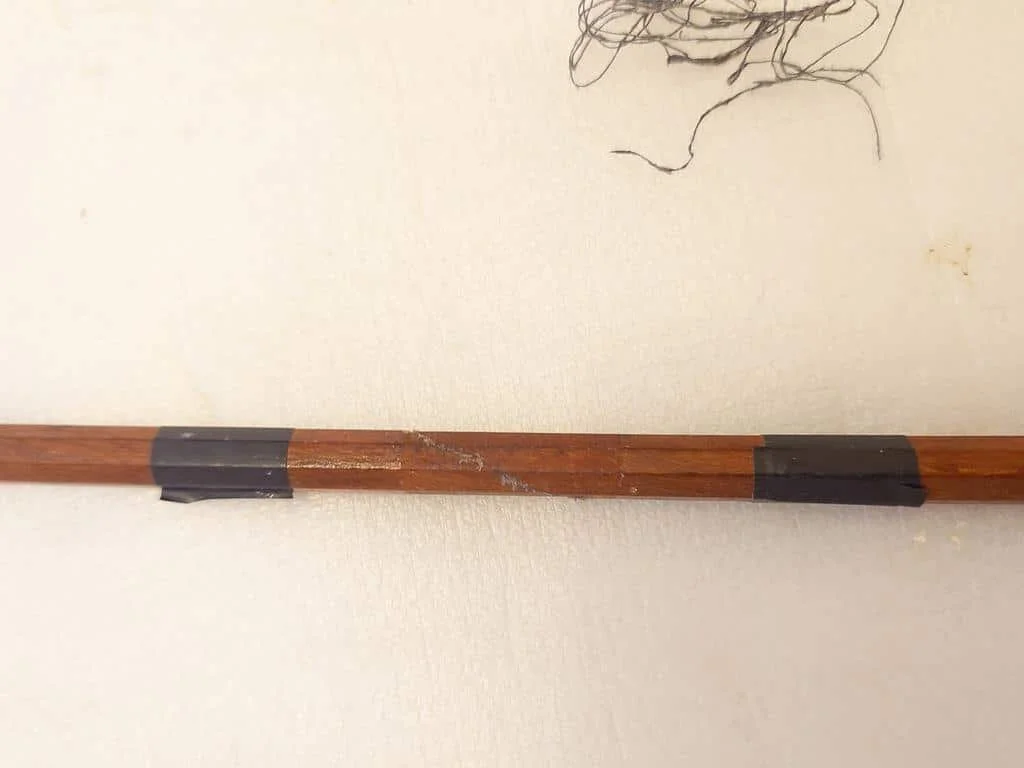
8. Result after structural repair
At this stage, the bow stick was fully reconnected and structurally secure, with correct alignment restored.
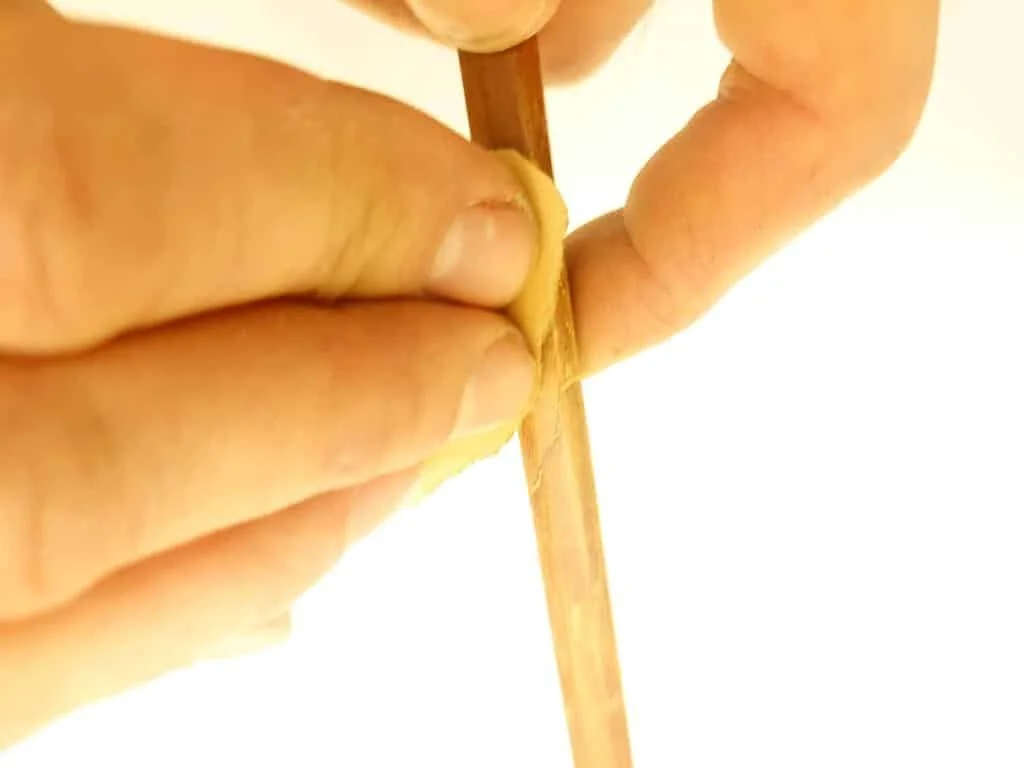
9. Sanding the repaired area
The glued section was carefully sanded to smooth the surface and blend the repair seamlessly into the original stick profile.
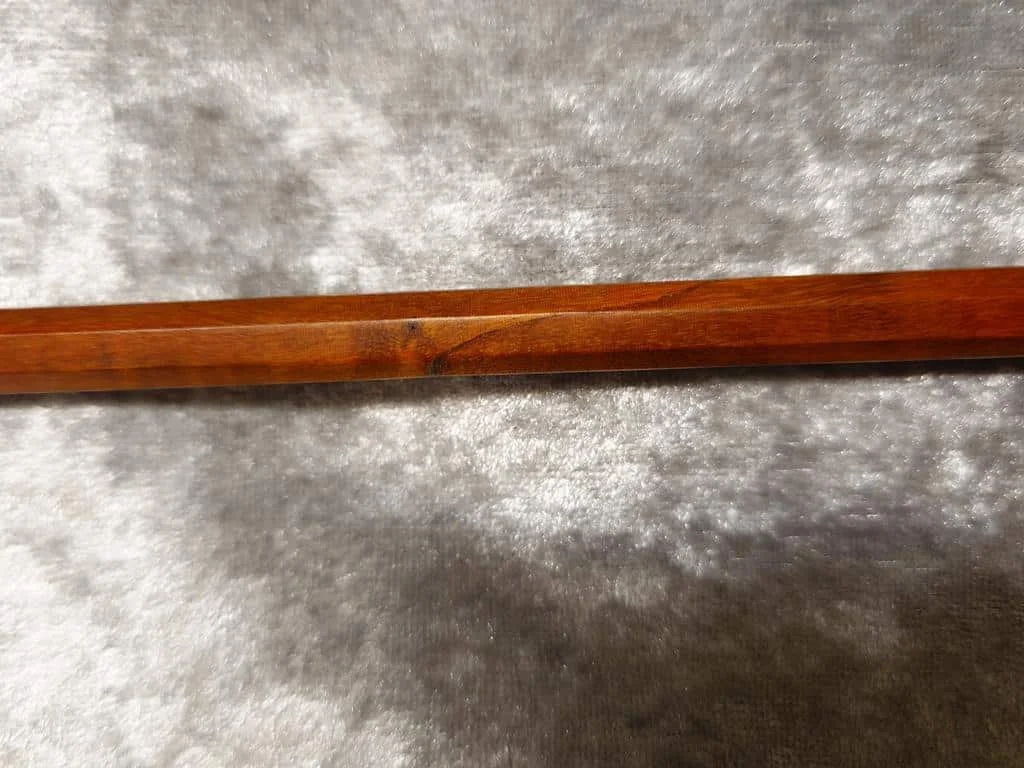
10. Final result after sanding
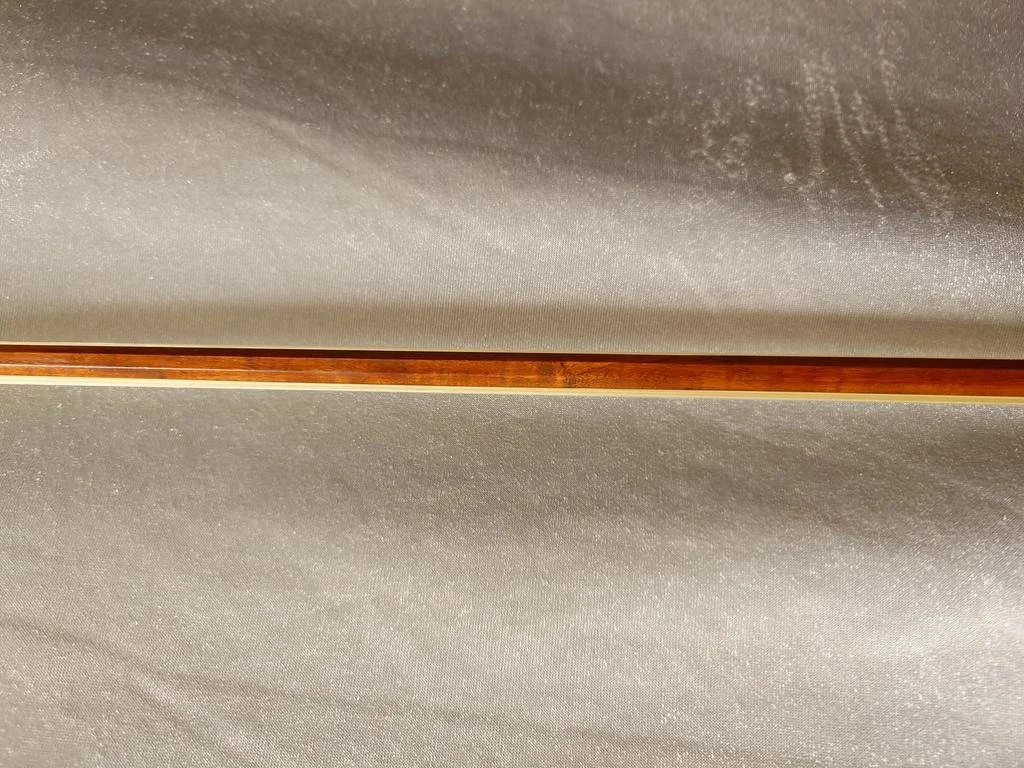
After sanding, the repaired area became clean, smooth, and visually discreet.
The bow’s structure was fully restored and ready for final setup.
Inserting the Hair for a Ready-to-Play Condition
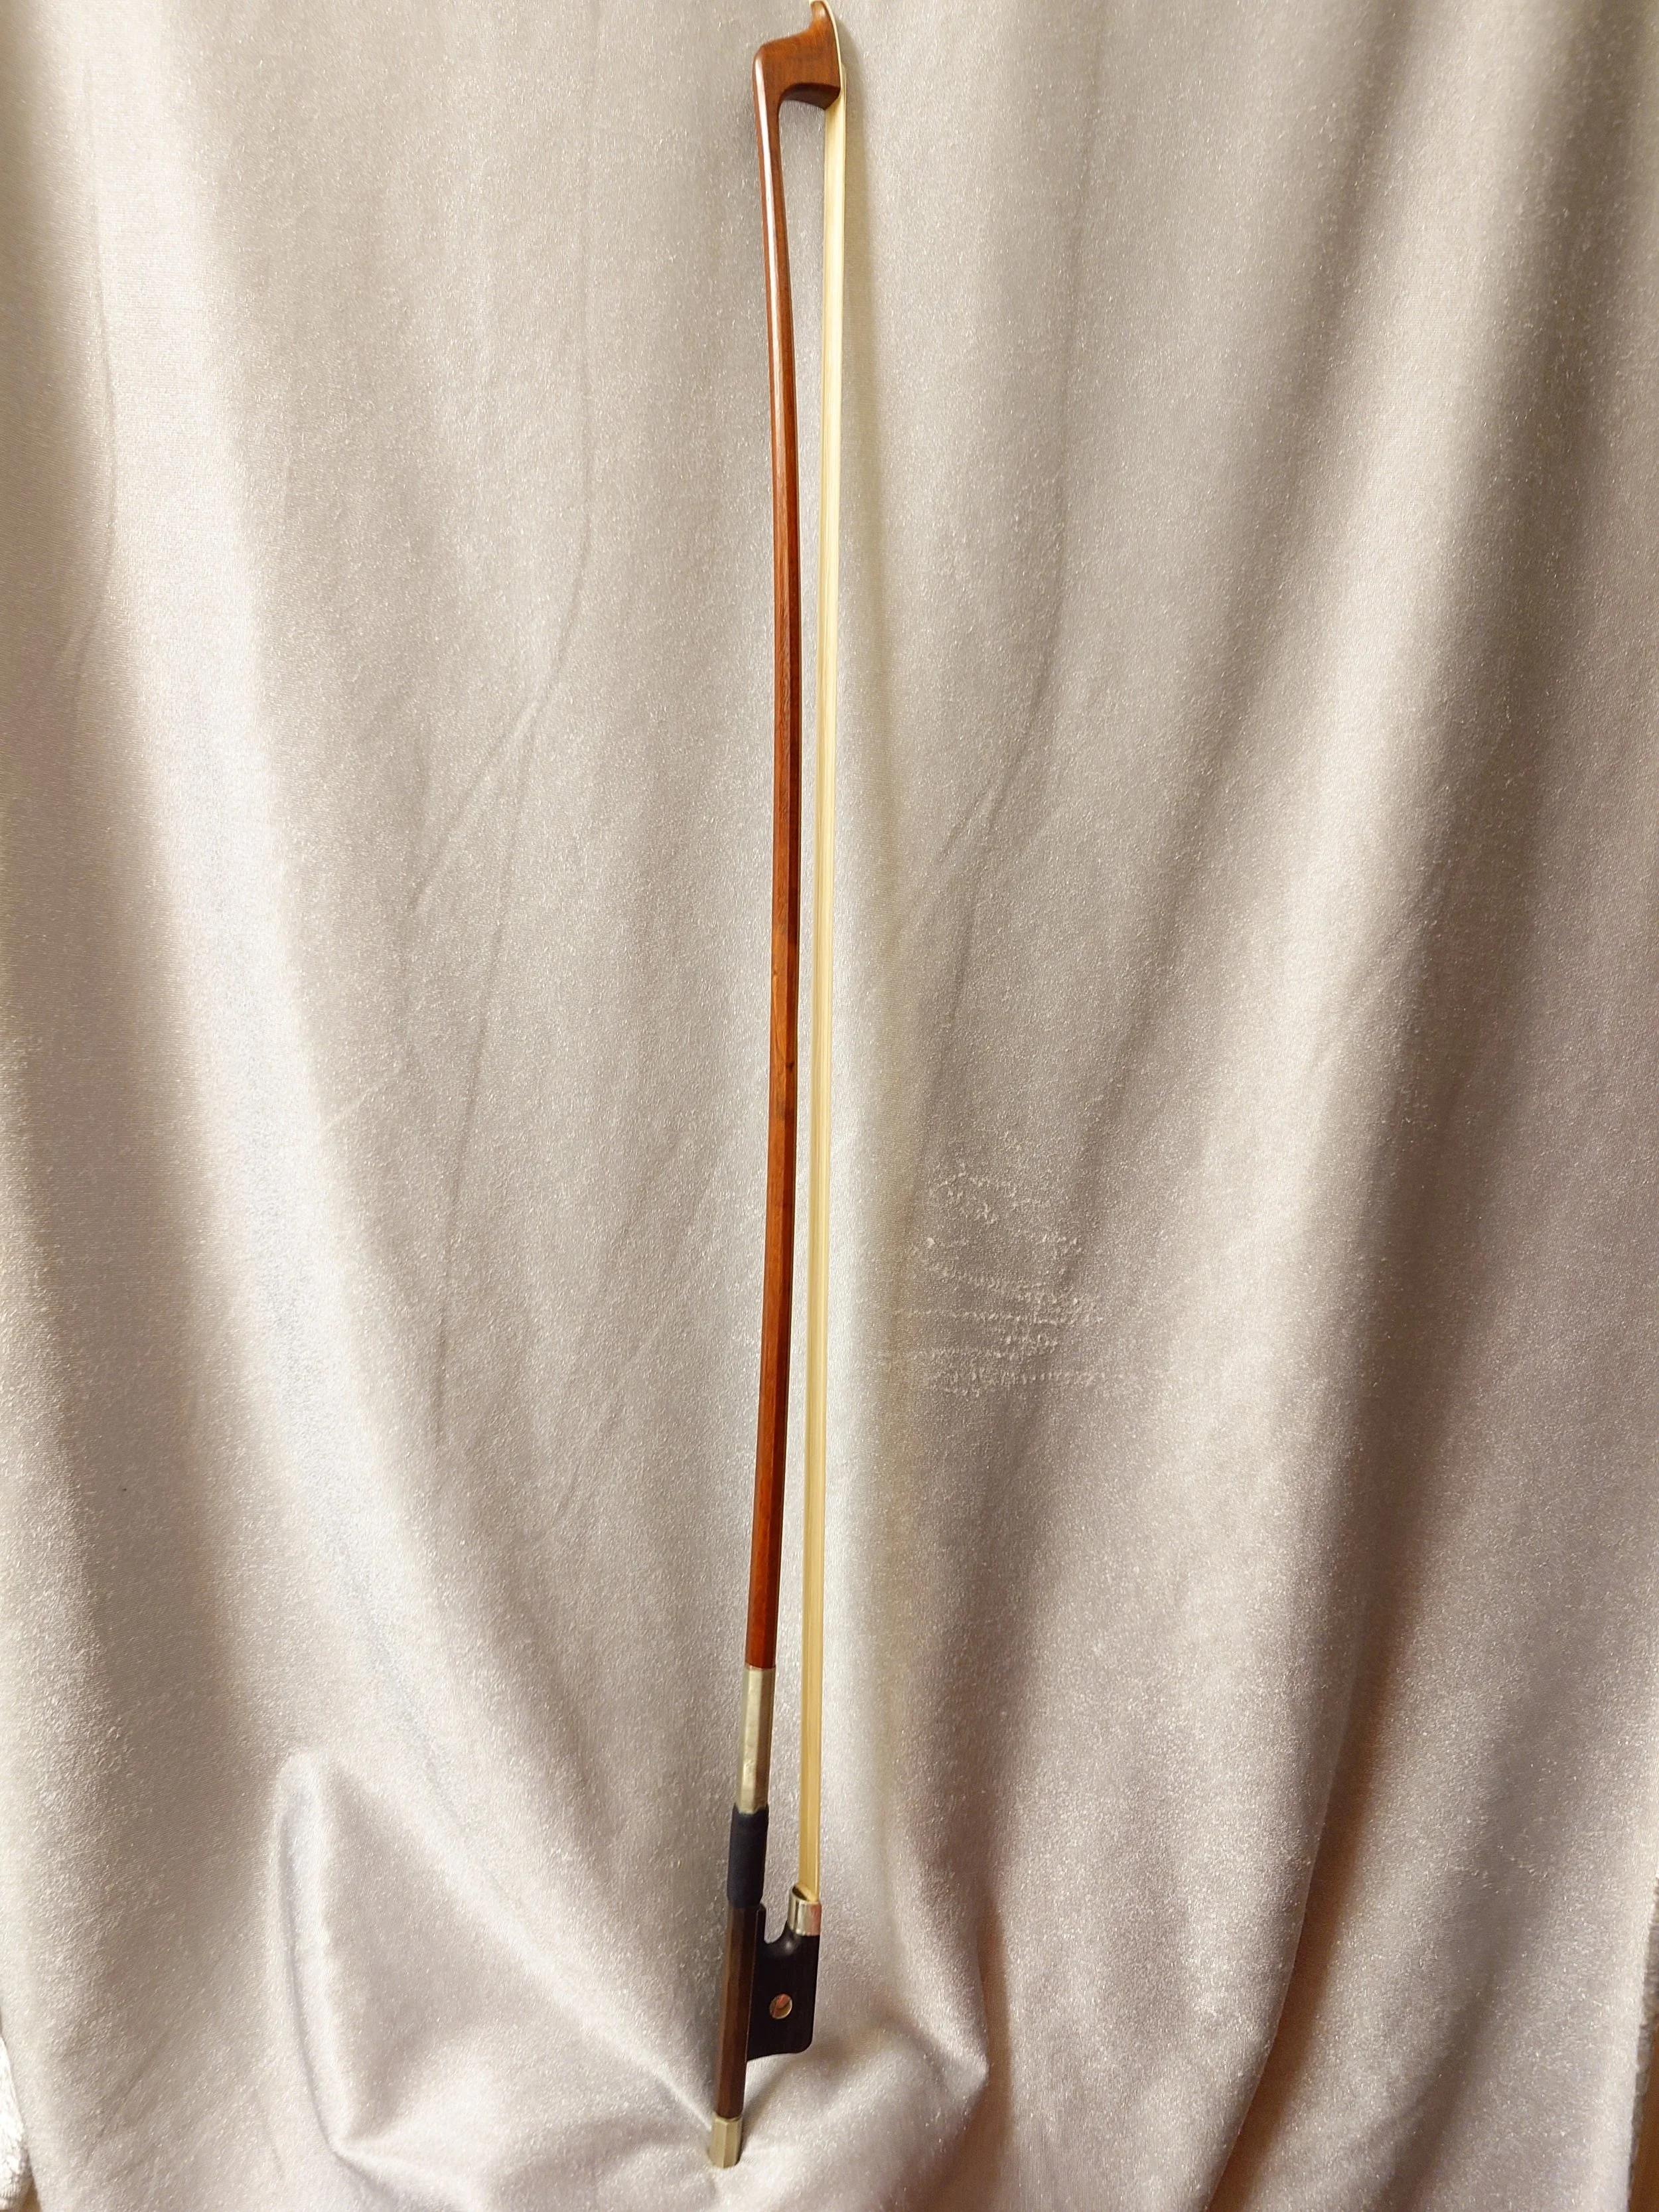
1. Preparing for hair insertion
Before rehairing, the bow was carefully prepared to ensure all components were clean, stable, and correctly fitted.
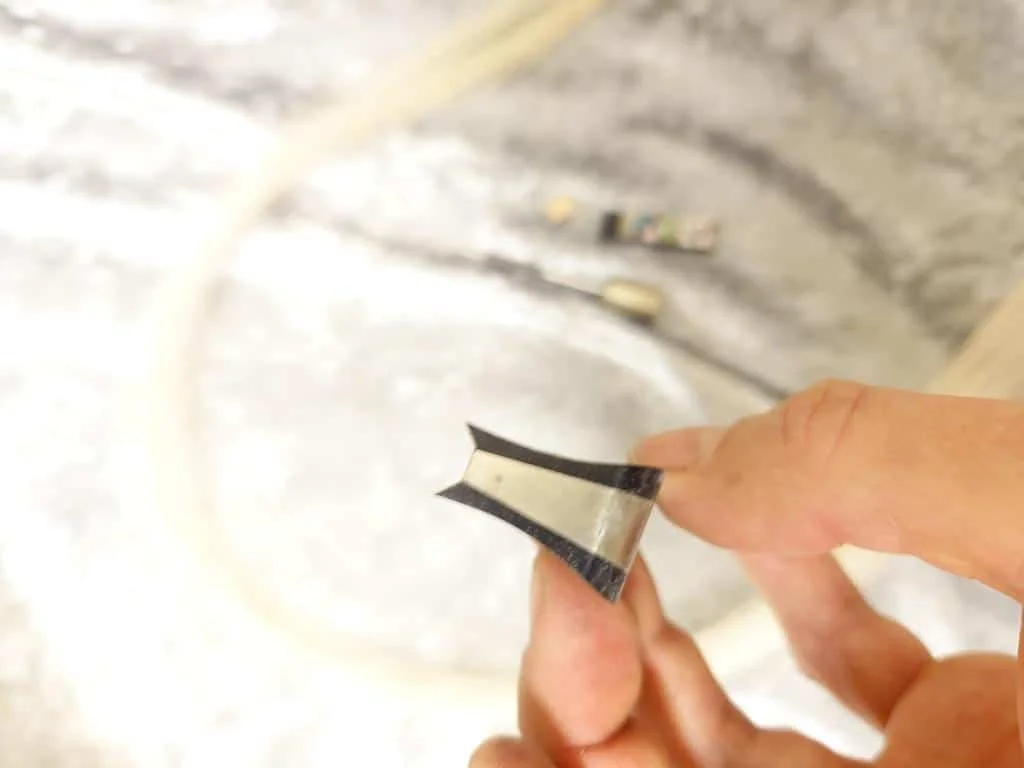
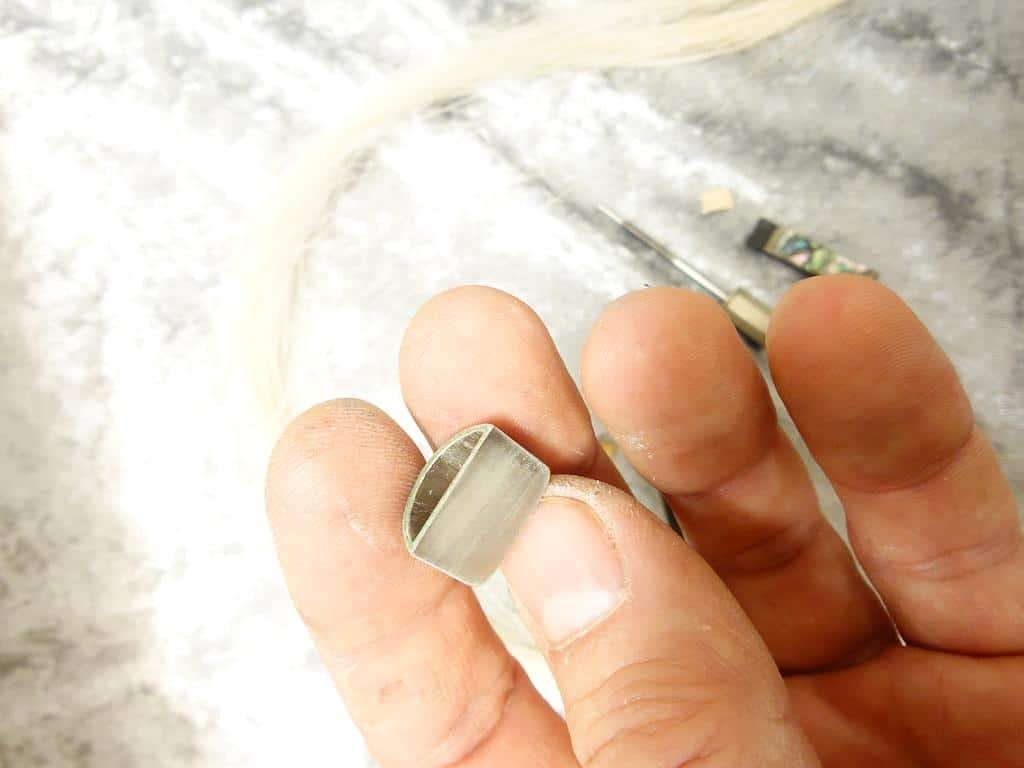
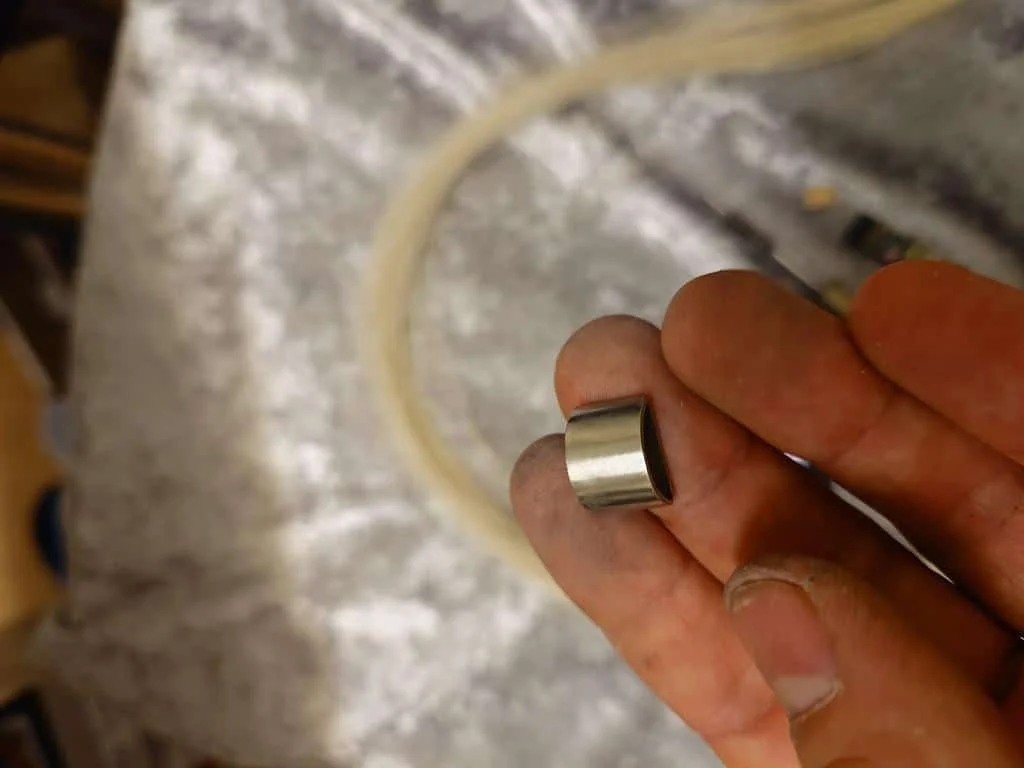
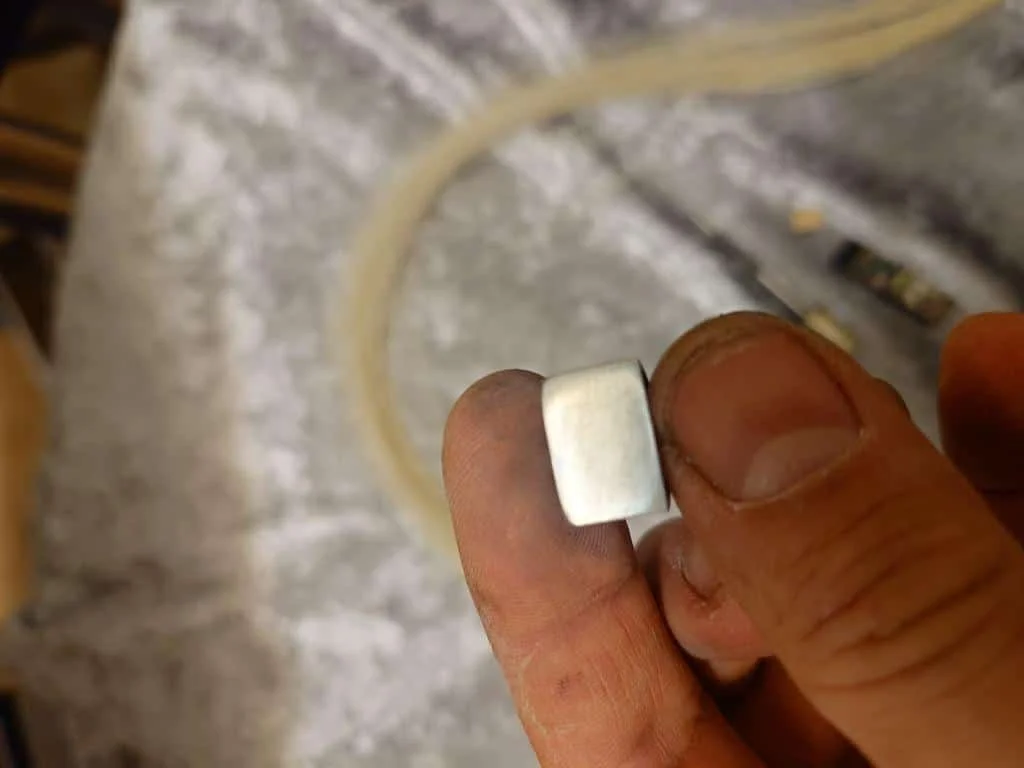
2. Cleaning and polishing the frog
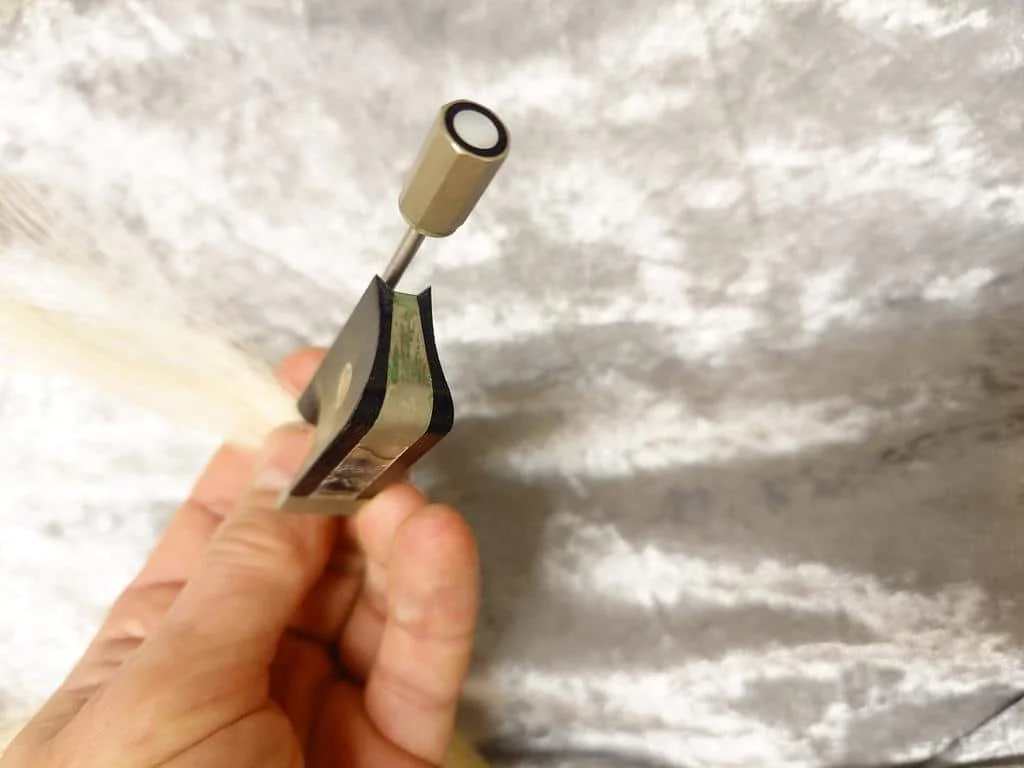
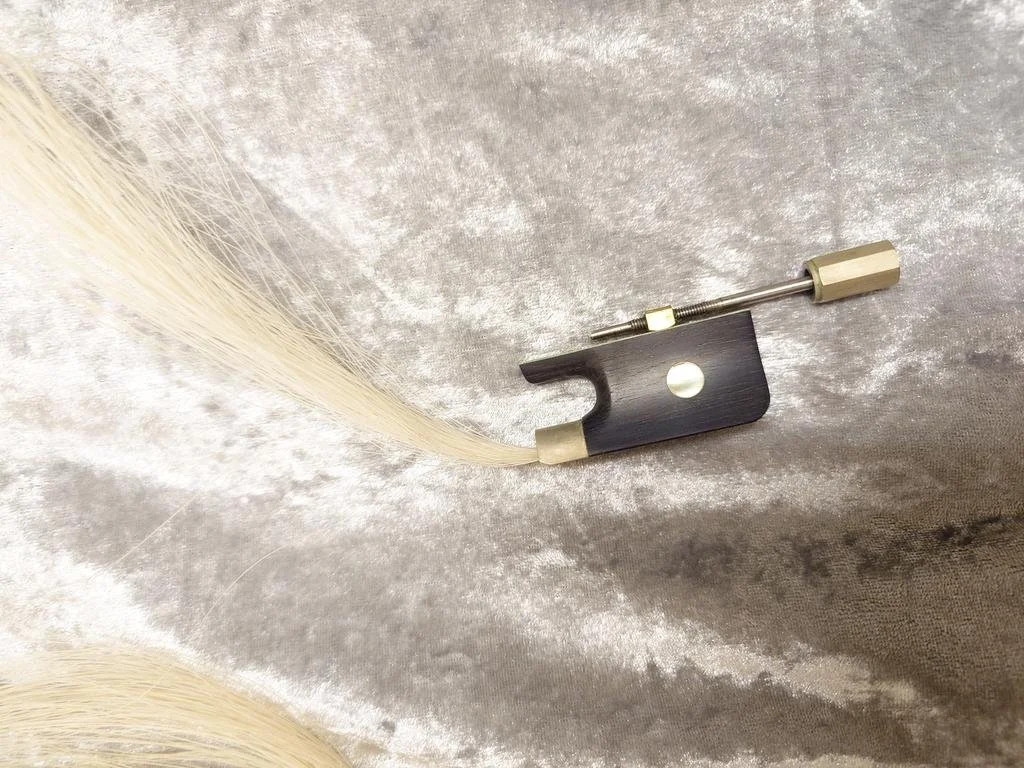
The silver parts of the bow frog were thoroughly cleaned and polished.
This stage included:
Photos documenting the condition before cleaning
The cleaning and polishing process itself
The final result after polishing
After this process, the frog was fully restored and ready for hair insertion.
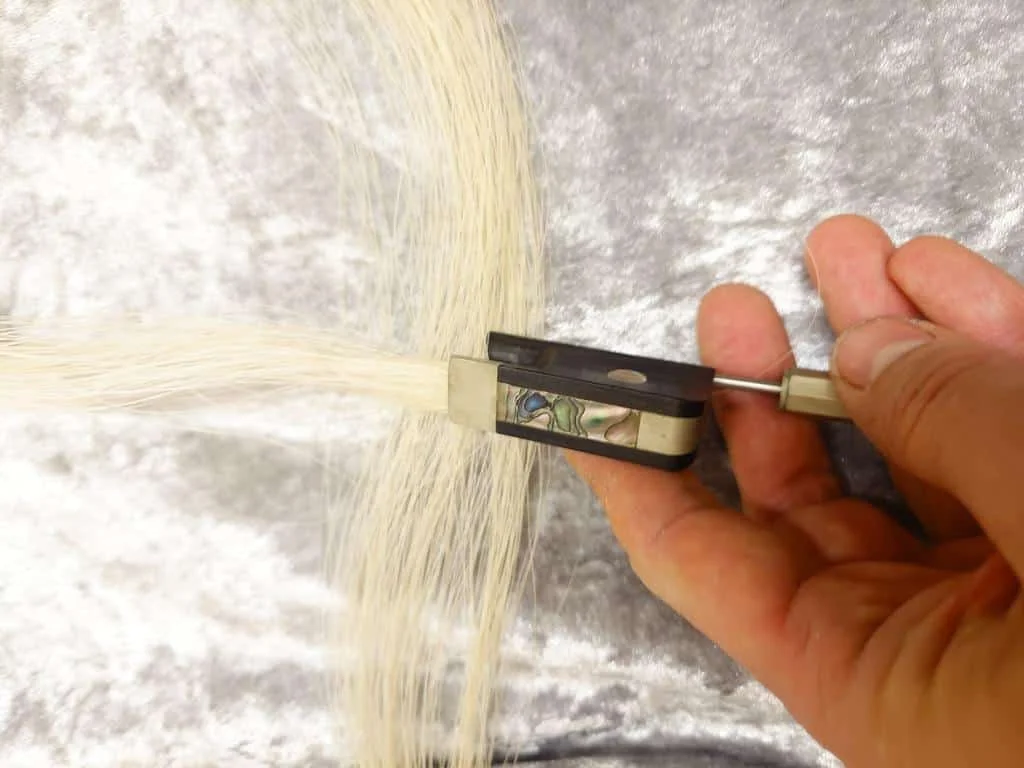
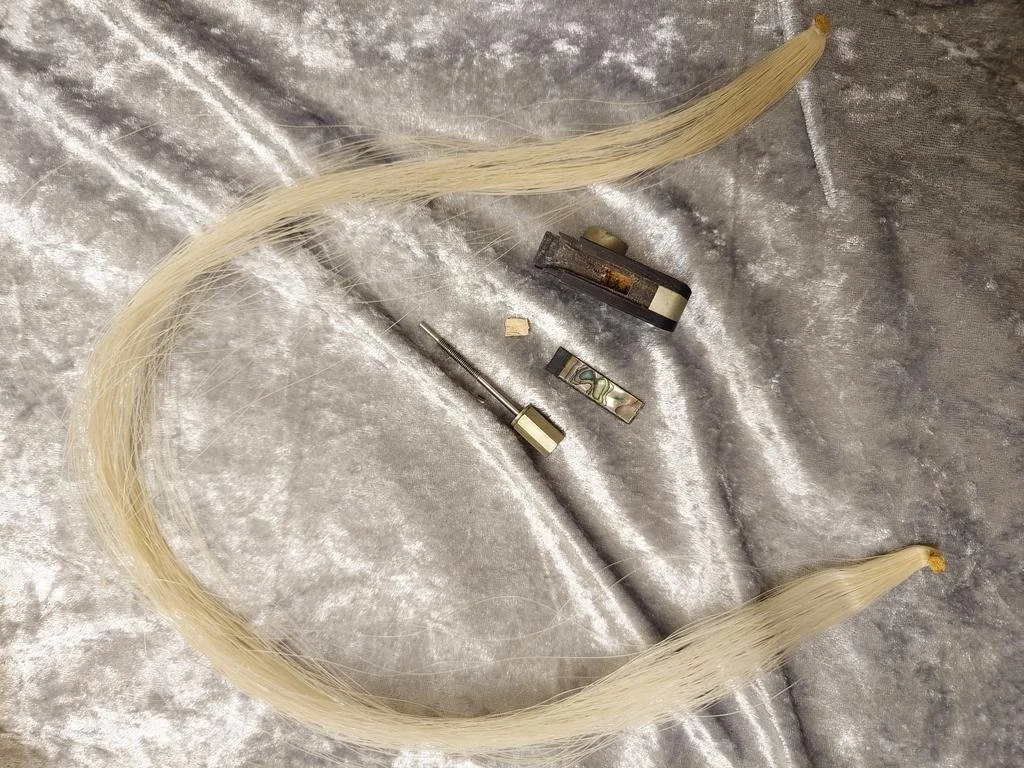
3. Measuring and preparing the new horse hair
A new bundle of high-quality horse hair was prepared.
The required amount of hair was carefully measured and selected to match the bow’s specifications and playing requirements.
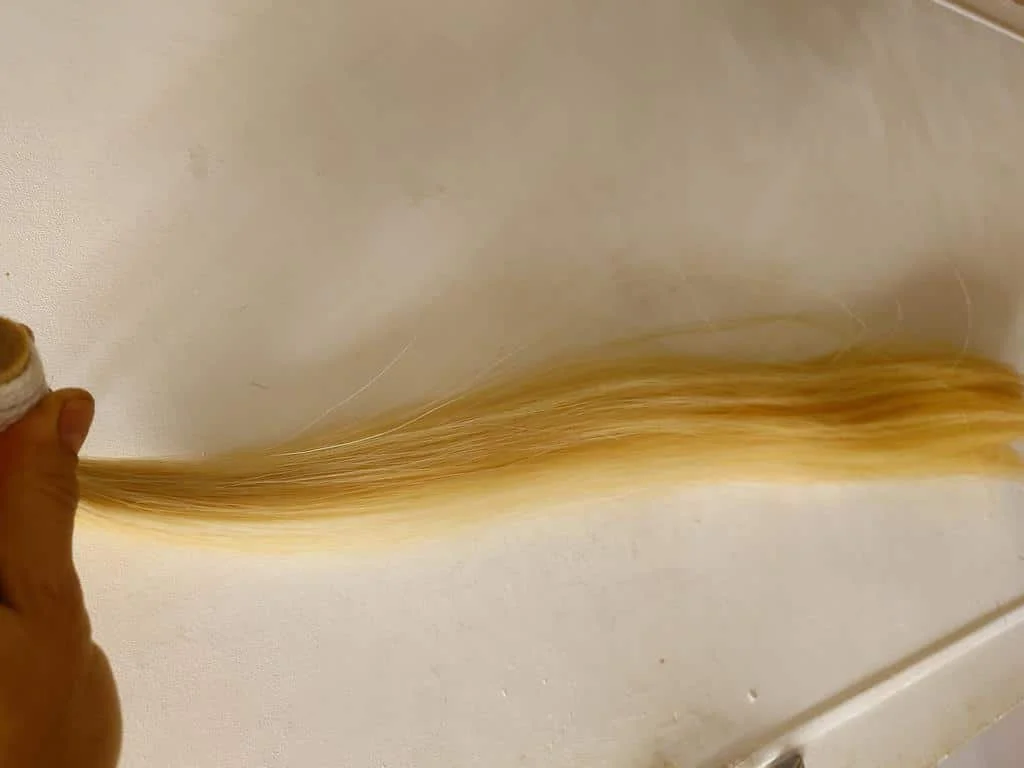
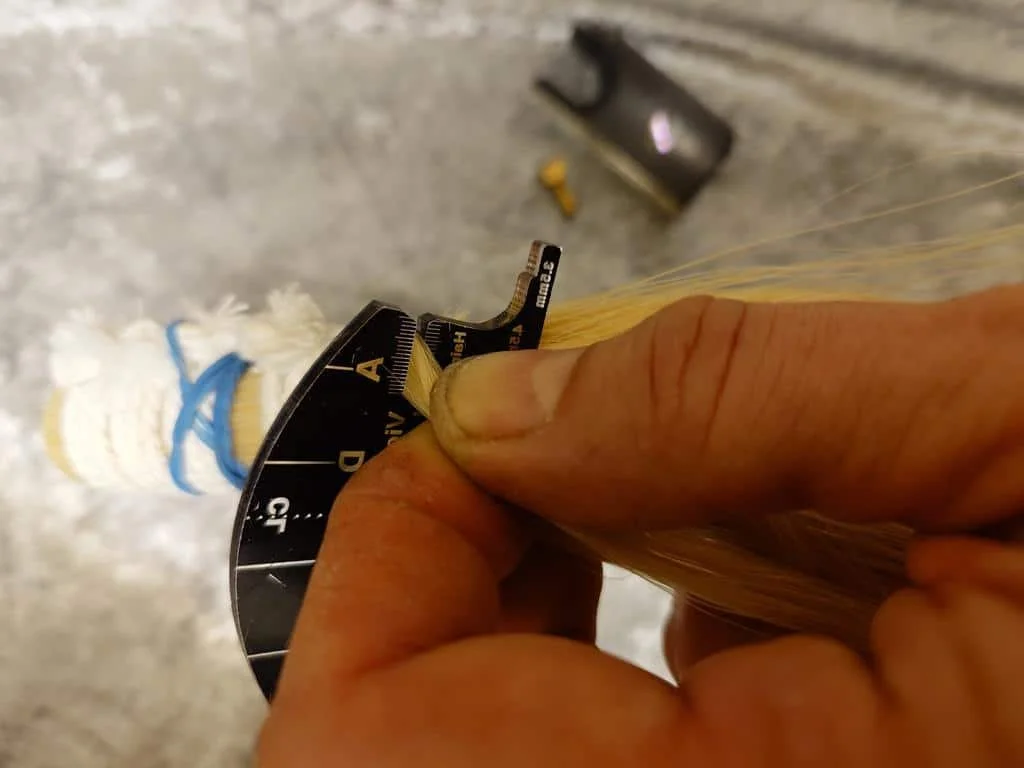
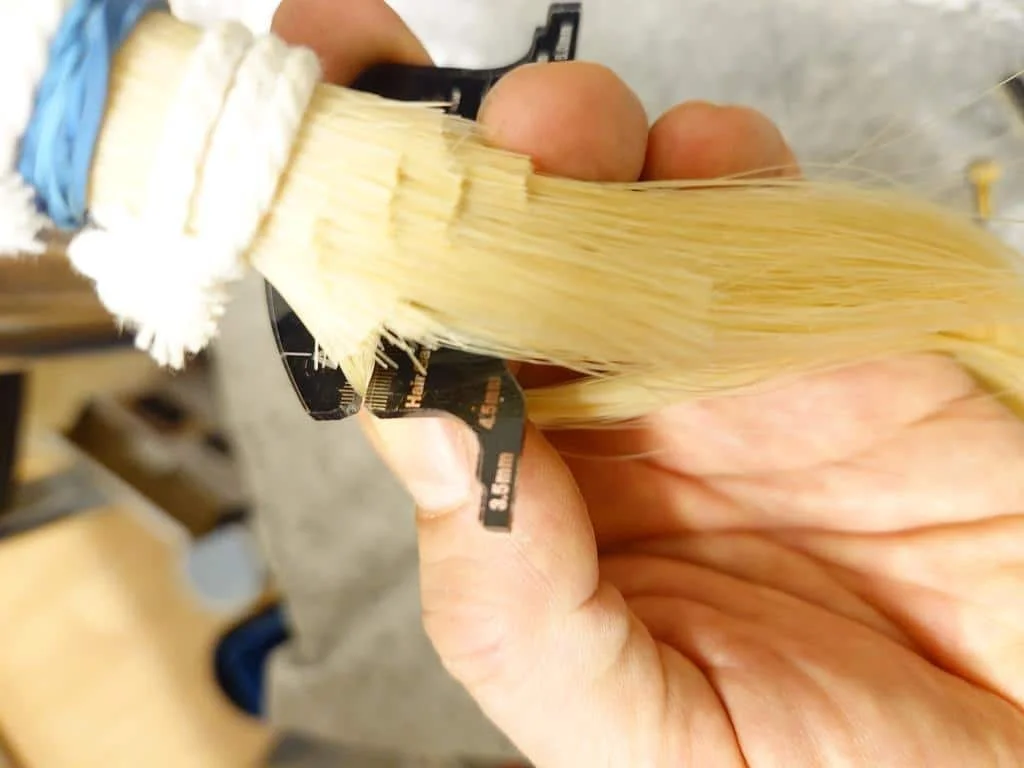
4. Hair insertion process
The new hair was inserted and secured into the bow.
This process requires accuracy to ensure correct tension, even distribution, and optimal playing response.
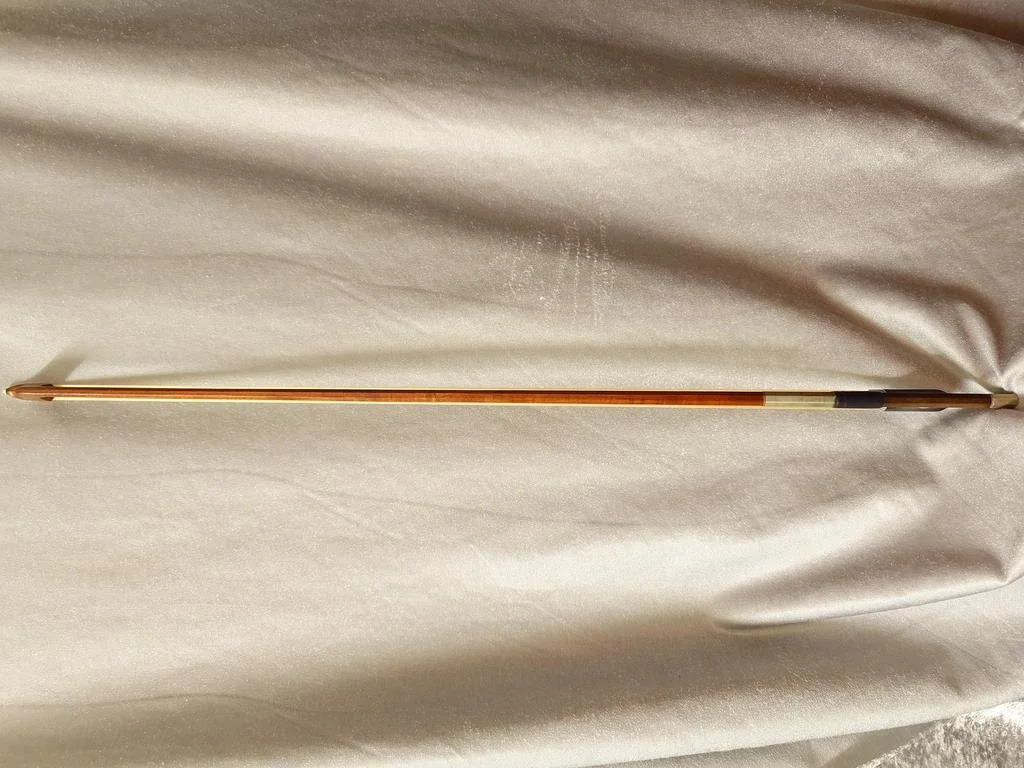
Final result
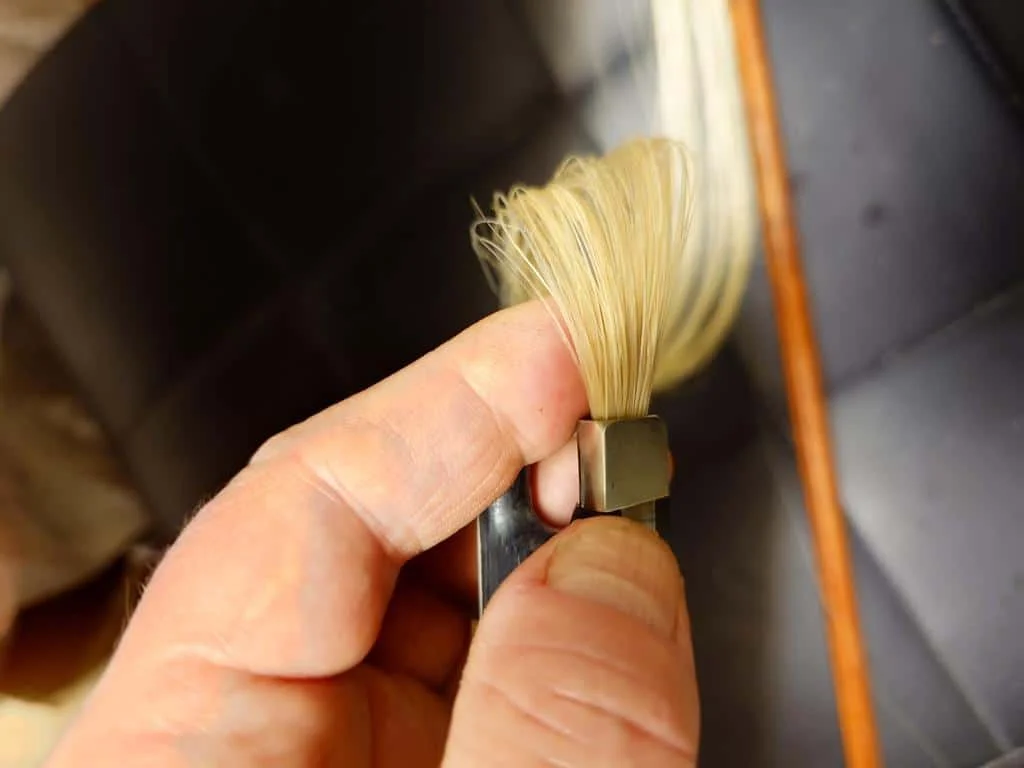
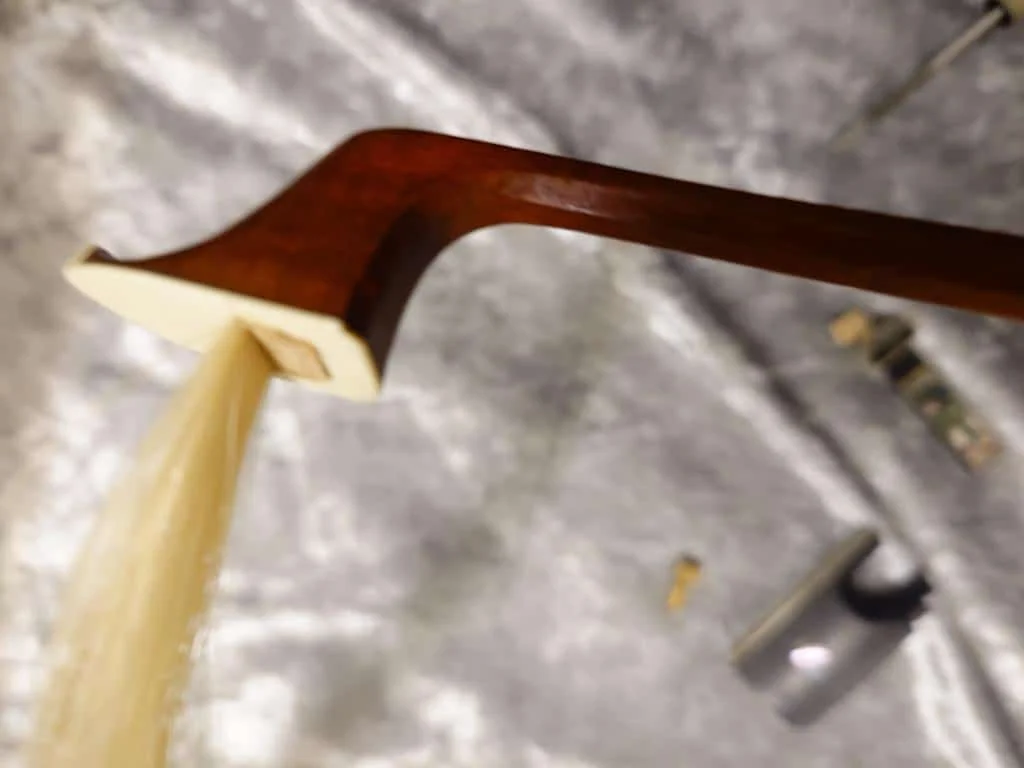
The hair insertion was completed successfully.
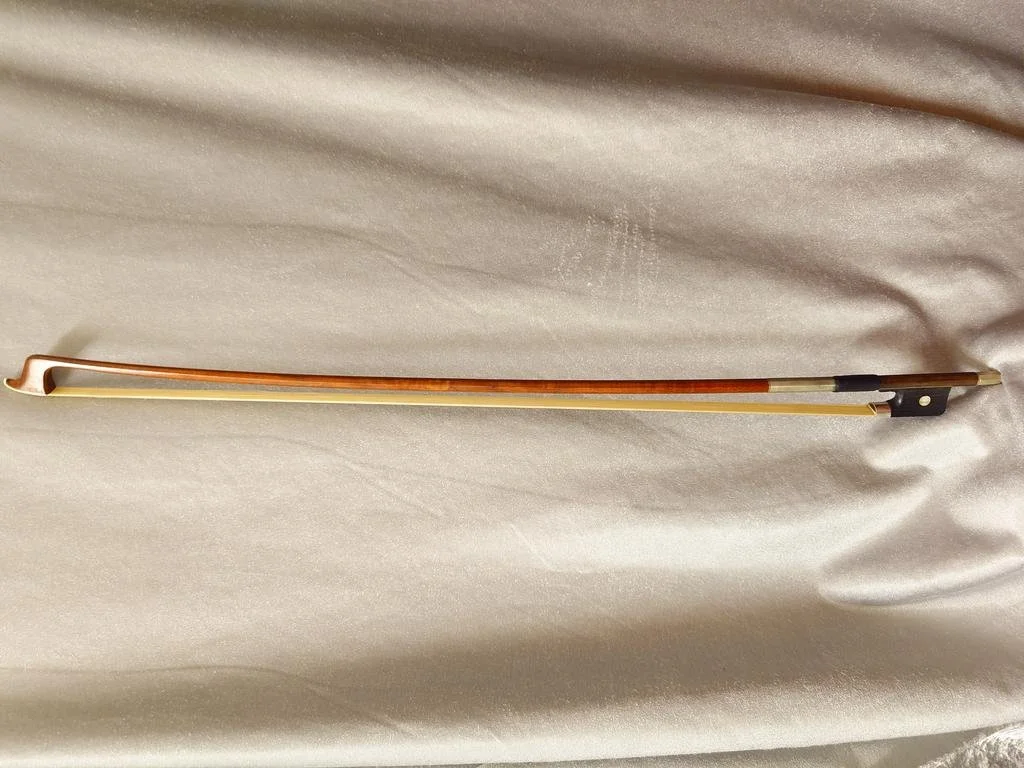
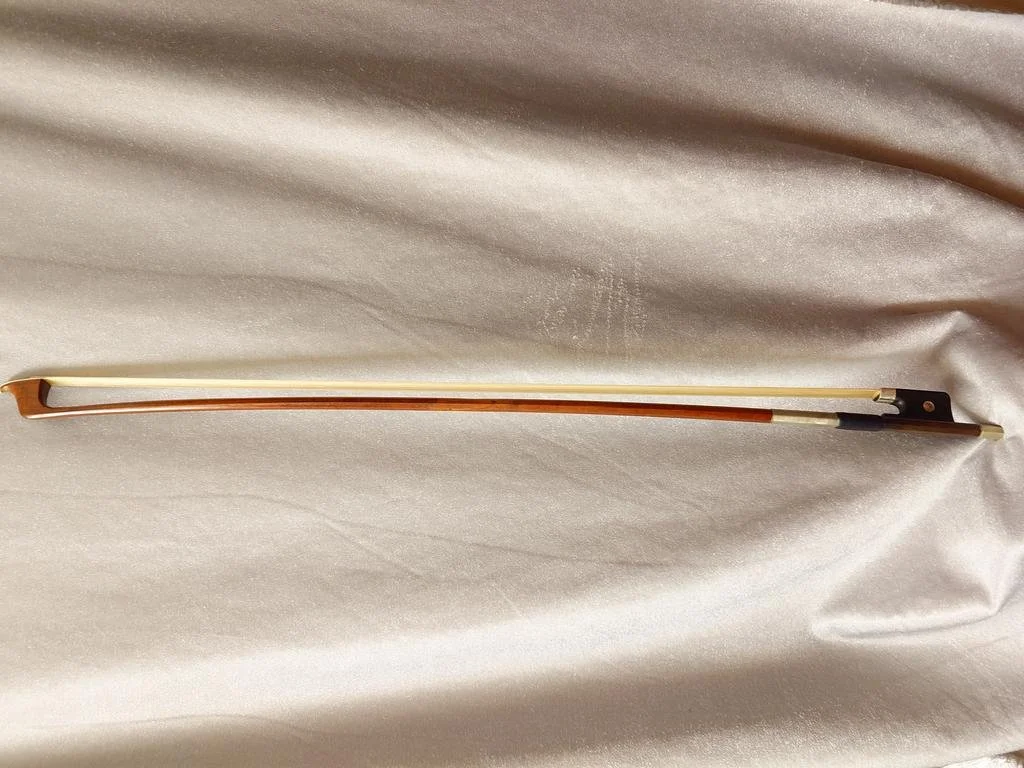
The bow is now fully restored, structurally sound, properly rehaired, and ready for playing.
This restoration returned the cello bow to full working condition, preserving its original feel and reliability.
Thanks to precise structural repair and professional rehairing, the musician can continue playing with their favourite bow for many years to come.
Customer feedback
“Kostia and Iryna were fantastic! They have made my old violin sound so beautiful. The repairs were excellent quality and they kept me informed throughout the process, sending photos of the repairs. It was really wonderful to see the craftsmanship and to hear my violin sounding more perfect than ever before. Thank you both!”
— Helen Perkins, violin player
Summary
This restoration not only repaired the structural crack but also transformed the violin’s tone. With a new bass bar, reinforced body, and upgraded components, the instrument regained its resonance, projection, and character — allowing it to sound more beautiful than ever.
Our Services

Restoration & Repair
-
Summary
We can repair, adjust or restore any stringed instruments. We usually work with violins, violas, cellos and double basses but we can also repair guitars, mandolins and other stringed instruments.
We undertake any job, from minor adjustments through to complete restoration.
Common repairs/adjustments include:• Replacing the bass bar
• Replacing or adjusting the bridge
• Replacing or adjusting the sound post
• Scroll and neck restoration
• Fingerboard replacement/adjustment
• Replacing or refurbishing pegs,tailpice ets
• Repairing cracks and regluing edges
•
• Crack Repair
• Retouching varnish/revarnishing
• Professional leaning
• Old varnish removal and new varnish application (Shellac).Maximise the potential of your instrument
As experienced performers, we know how to get the best our of your instrument. Schedule a session with us to discuss how we can help your optimise the sound of your instrument. We can advise on the best strings to use, and experiment with moving the soundpost, during your visit.

Bows Restoration & Rehair
-
Summary
Bow repairs and rehairing:
We repair and rehair bows using the highest quality horsehair sourced from Mongolia. As well as
rehairing, we can also adjust and repair bows so they play reliably and comfortably.
Common repairs/adjustments include:• Violin / viola / cello / double bass bow rehair
• Leather thumbpiece replacement
• Silver winding repair/replacement
• Screw and eye repair/replacement
• Slide ( for frog) replacement
• Frog repair
• Bow tip replacement

String Instruments For Sale
-
Summary
Stringed instruments for sale
We have a varied collection of violins, violas and cellos for sale, together with a selection of bows.
We have affordable student instruments, premium instruments for professionals and a range of mid-
price models. We have played all the instruments in, and are knowledgeable about their strengths
and limitations.
Please visit us to try out our beautiful instruments, or contact us for a video consultation.
How It Works
-
Accessible Repair Services
No matter your location, access our top-tier repair services remotely by sending us your instrument with our labels. Even if you are in a remote area, we ensure your instrument receives the highest standard of care.
How It Works
Sending your instrument/bow by post:When you contact us to arrange a rehair/repair, we will send postal labels and, if necessary, a case.
We advise using Royal Mail Special Delivery or a tracked courier service. Please ensure that your have adequate insurance to cover delivery, whether your own or taken out through Royal Mail.
Please take pictures beforehand in case of damage in transit.
We aim to complete repairs/bow rehair in 7-10 days and will contact you if a repair is more complex than you anticipated.
IMPORTANT: Please do not dispatch your instrument until you have received the labels
Our Partners